Getting Started with 3D Printing
A beginner's guide to 3D printing. Learn what you need, how to find models, and how to print your first 3D object
Getting Started with 3D Printing
You've got a 3D printer or you're thinking about getting one. Maybe you've seen cool prints online and want to make your own. 3D printing can seem hard at first, but it's actually really easy to get started once you understand the basics. This guide will walk you through everything you need to know to go from unboxing your printer to printing your first model starting from STLRepo.
What is 3D Printing?
3D printing, also called additive manufacturing, is the process of creating physical objects by building them layer by layer from a model file. We have a guide that explains all the file formats here. Instead of cutting away material like traditional manufacturing, a 3D printer adds material (filament that comes in a variety of types) one thin layer at a time until your object is complete, starting from the bottom and building up.
You can imagine the process like this: a hot glue gun that moves in three dimensions (X, Y, and Z) and is controlled by a computer. The printer reads a 3D model file (usually an STL file), then prints it layer by layer on a build plate. Each layer is around 0.1 to 0.3 millimeters thick, which is why it can take hours or even days for large objects.
What You Need to Get Started
Before you can start printing, you'll need a few essential things.
A 3D Printer
Of course, a 3D printer is needed to do anything. There is a wide variety of brands and models available, ranging from budget options like the Ender 3 to premium printers like Bambu Lab or Prusa models. Most modern 3D printers work the same way, but their workflow might vary in terms of how you start prints. They heat plastic filament and extrude it through a nozzle to build your object layer by layer.
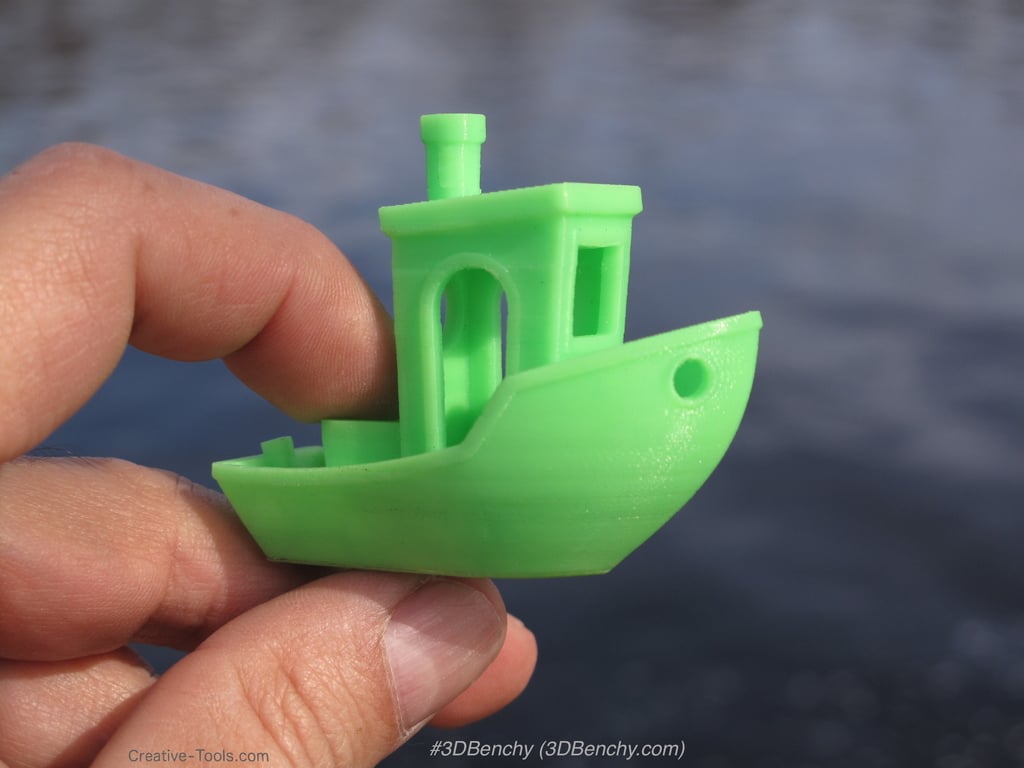
If you're just starting out, you don't need the most expensive printer. Many beginners start with entry level printers that cost a few hundred dollars and work perfectly fine for learning. Benchy anyone?


Filament
Filament is the plastic material your printer uses to create objects. The most common type is PLA (Polylactic Acid), which is perfect for beginners because it's easy to print with, doesn't require a heated bed, and comes in every imaginable color. You'll also see ABS, PETG, and other materials, but PLA is what you should start with if you're just beginning to get into 3D printing.
Filament comes in spools, usually 1 kilogram (about 2.2 pounds). One spool will last you quite a while, especially when you're printing smaller test objects. Your slicing software can estimate approximately how much filament you might use for your model before you print it.
Slicing Software
A slicer is the program that takes your 3D model file and converts it into instructions your printer can understand called G-Code. Popular free options include Cura (works with most printers, very beginner friendly), PrusaSlicer (great interface, works with any printer despite the name), and Bambu Studio (if you have a Bambu Lab printer, works with other printers, but requires some setup).
The slicer lets you adjust settings like print speed, layer height, temperature, and whether your model needs supports (temporary structures that hold up overhanging parts when printing).
3D Models
You need a digital 3D model file to print. These are usually STL files that you download from sites like Thingiverse, Printables, or MyMiniFactory. You can also create your own using 3D modeling software such as Autodesk Fusion 360, SketchUp, or TinkerCad, but for your first prints, downloading existing models is the way to go, such as finding one from STLRepo.
Understanding Your 3D Printer
Every 3D printer has a few key components you should understand.
Build Plate: This is the flat surface where your print sits. Some are heated (for materials like ABS), others aren't heated (fine for PLA). You'll need to level this before printing. See Bed Leveling below.
Nozzle: The hot end that melts and extrudes the filament. Most printers have a 0.4mm nozzle, which is a good all around size. Smaller nozzles such as 0.2mm allow you to print finer text or small details.
Extruder: The mechanism that pushes filament through the nozzle. Some printers have direct drive (extruder right above the nozzle), others have Bowden tubes (extruder is further away).
Bed Leveling: This is crucial for any print. Your build plate needs to be perfectly level and at the right distance from the nozzle. If the bed is too close, the nozzle will scrape the bed and cause damage. If it is too far, the first layer won't stick to the bed, causing adhesion issues. Most modern printers have auto leveling such as Bambu Lab printers, but manual leveling is still common for more budget friendly printers.
Finding Your First Model
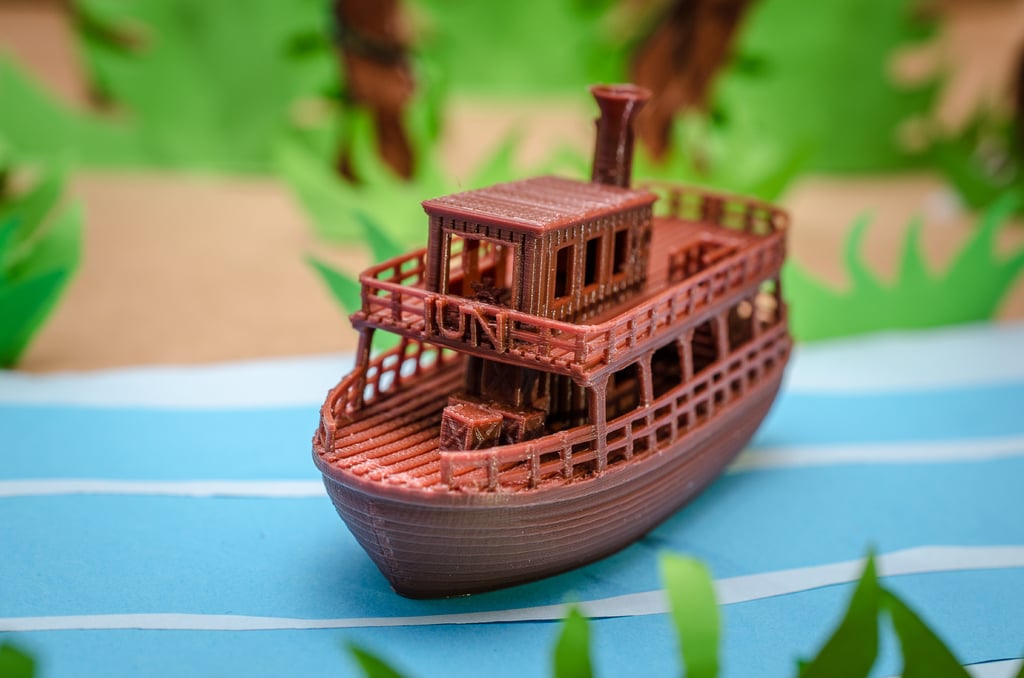
For your first print, you want something simple and small. Look for models labeled "beginner friendly" or "test print." Good first prints include calibration cubes (small test objects to check your printer settings), simple keychains or tags, small decorative items, and Benchies (a small boat model that's the standard test print).
You can find thousands of free models on sites like Thingiverse, Printables, or by searching on STLRepo. Look for models with good reviews, photos from other users who've successfully printed them, and review the comments.
Avoid starting with models that have lots of overhangs (parts that stick out without support underneath), very small details, complex moving parts, or large size. Longer prints mean more chances for things to go wrong, especially if you're just starting out.
Slicing Software Basics
Once you've downloaded a model, you need to "slice" it before printing. Slicing means taking the model and generating a G-code file with printing instructions which is specific to your printer for the purpose of printing. Here's the basic process.
First, open your slicer and import the STL file (or 3MF) you downloaded. Position the model on the virtual build plate. The slicer shows you a preview. Check the settings. For your first print, use the default settings or a "standard quality" preset. Click the slice button to generate the print instructions. Then save the file. Export it as a G-code file, usually saved to an SD card or sent directly to the printer through your network or cloud.
Key settings you'll see (but don't need to change for your first print):
Layer Height: Thinner layers equal smoother prints but longer print time. 0.2mm is a good starting point.
Infill: How solid the inside of your print is. 20% is usually fine for most objects and is recommended.
Supports: Temporary structures for overhanging parts. The slicer usually detects when these are needed, but sometimes the creator might turn these off to allow the user to change them as necessary.
Temperature: PLA typically prints around 200°C for the nozzle and 60°C for the bed (if your bed is heated). See the recommended temperature on the side of the filament spool or on the manufacturer's page.
Your First Print
Level your bed. Follow your printer's instructions. This is the most important step for success. Load filament by feeding it through the extruder according to your printer's manual. Preheat your printer and let the nozzle and bed reach the right temperature. Load your G-code file either from an SD card or send it directly if your printer is connected to a network. Start the print and watch the first layer carefully. This is when most problems show up. Then let it print. Don't touch it while it's printing. Most prints take at least 30 minutes, many take hours. It might be tempting to open the enclosure if your printer has one, but keep it closed as you don't want heat to escape the chamber.
What to watch for on the first layer:
The filament should stick to the bed and form smooth lines. Lines should be close together with no gaps between them. The nozzle shouldn't be scraping the bed and making sounds or marks. The first layer should look flat and even.
If the first layer looks good, you're probably in for a successful print. If it's not sticking or looks messy, stop the print and check your bed leveling. Then print again after making the changes.
Common Beginner Mistakes
Not leveling the bed properly causes 90% of first print failures. Take your time and level it carefully based on your printer. If you have auto bed leveling, this is unlikely to be an issue.
Printing too fast is another issue. Slow and steady wins the race. Start with default speeds and only increase them once you're comfortable and understand how your printer works.
Wrong temperature settings can cause problems. Different filaments need different temperatures. Check the recommended settings on your filament spool or on the manufacturer's website.
Not using supports when needed will cause failures. If a model has overhangs (parts that stick out), you'll need supports. The slicer usually adds these automatically, but check the preview. Each slicer has different types of supports.
Trying to print something too complex first is a mistake without understanding how your printer works. Start simple. You'll learn faster and waste less filament.
Not checking the model size happens more than you'd think. Make sure your model fits on your build plate. The slicer will warn you, but double check the dimensions. This includes the limitations height wise.
3D printing has a learning curve. Failed prints are part of the process. Learn from each one.
Troubleshooting Your First Prints
If something goes wrong, don't panic. Here are quick fixes for common issues.
Print won't stick to bed: Clean the bed with isopropyl alcohol (there is debate about which percentage to use, you may need to research this based on your comfort level), check bed leveling, increase bed temperature slightly, or use a glue stick or hairspray (yes, really).
Stringy prints (oozing): Lower the nozzle temperature or increase retraction settings in your slicer.
Layer shifts: Check that your belts are tight and nothing is blocking the printer's movement.
Clogged nozzle: Heat the nozzle and try to push filament through manually, or use a cleaning filament.
Warping (corners lifting): This is more common with ABS. Use a heated bed, enclosure, or switch to PLA which warps less.
Next Steps
Once you've successfully printed your first model, you're ready to explore more. Try different models and see what your printer can do. Experiment with different colors and materials. Learn about file formats to understand STL, 3MF, and OBJ files. Discover the best sites for finding quality 3D models. Understand licensing so you know what you can do with your prints.
The more you print, the more comfortable you'll become. Soon you'll be adjusting settings, trying new materials, and maybe even designing your own models all in a matter of time.